Creating a Custom 3D Printed Diorama: A Tale of Miniature Printing
In October 2023, our local gaming store, the amazing Bulwark Games (highly recommend checking them out!), hosted a painting competition themed around a “duel.” With minimal restrictions and a desire to push my creative boundaries, I decided to dive headfirst into something new—building my first-ever diorama!
The Concept: Hunter vs. Hunted
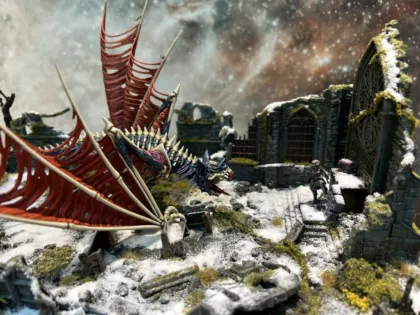
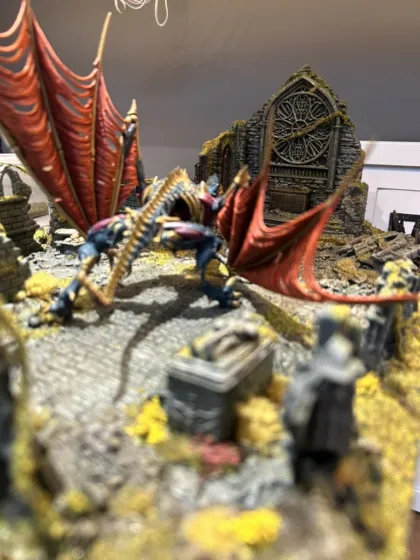
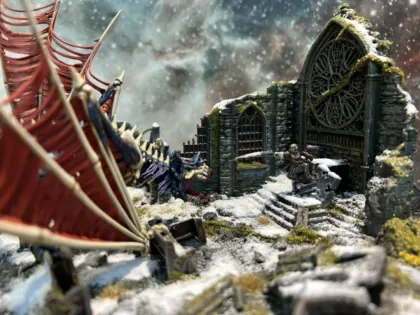
I started with a bold concept: a hunter being hunted, locked in a final showdown with their monstrous prey—a winner-takes-all scenario. I was inspired by CL Werner’s Cursed City, imagining the piece set in the vampire-ruled city of Ulfenkarn. For the hunter, I wanted to depict a vampire hunter facing off against the most formidable creature I could find. Enter the Terrorgheist, a massive skeletal beast perfect for this grim, intense battle scene. All I needed now was a worthy opponent.
After searching through countless models, I found Hexbane’s Hunters, specifically Brydget Axwold. Her pose and stature fit perfectly against the towering Terrorgheist, making her the ideal protagonist for this final stand.
With the setting, models, and a roughly sketched concept in place, I was ready to move on to the next phase: 3D printing.
Bringing the Scene to Life: 3D Printing the Diorama
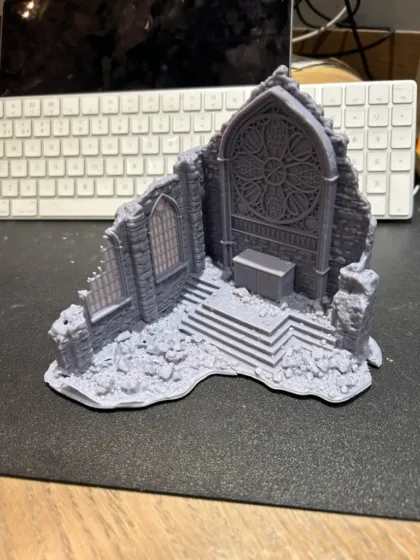
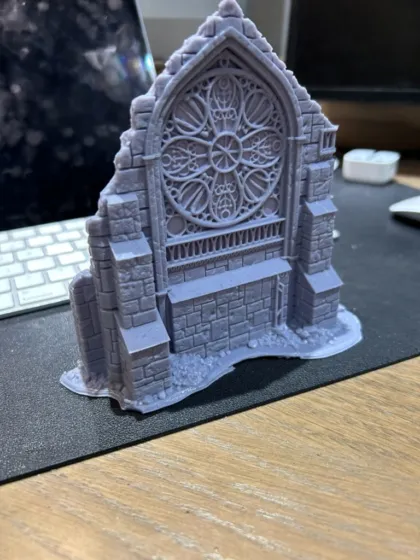
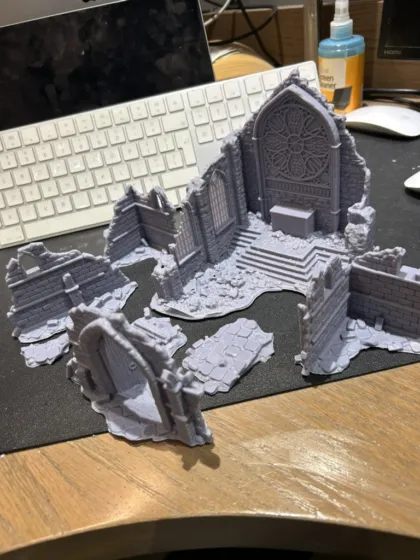
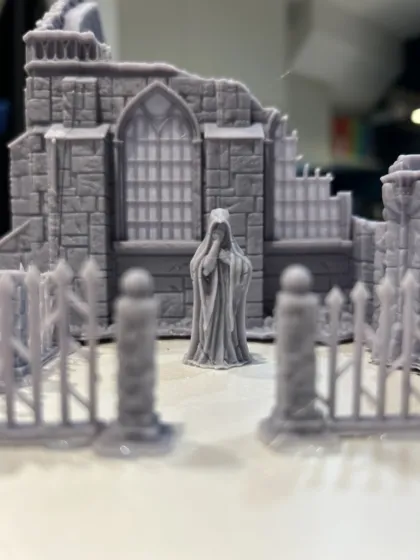
Given that we specialize in custom miniature printing at Re-Foundry, I leveraged our 3D printing expertise to create the intricate components for this diorama. I scoured various 3D asset repositories for elements like ruined churches, graveyards, altars, trees, and fences to build a haunting, atmospheric scene.
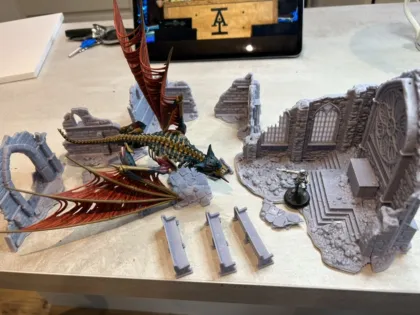
With a solid plan and some resin at the ready, I began printing. Since the Terrorgheist model is quite large, I needed to slice the 3D files and print them in multiple parts. This modular approach worked well, and soon I had all the pieces needed to start assembling the diorama.
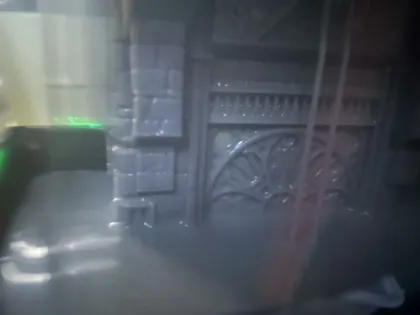
The first of the Church/Cathedral pieces being printed.
Assembly and Detailing: Building the Diorama
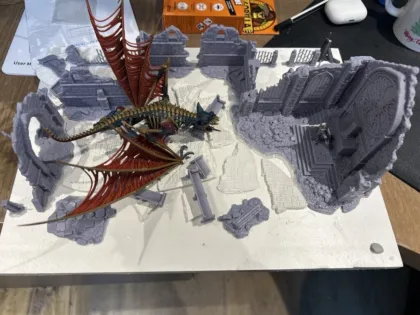
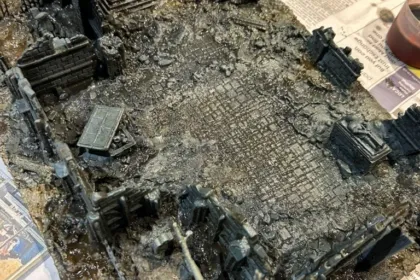
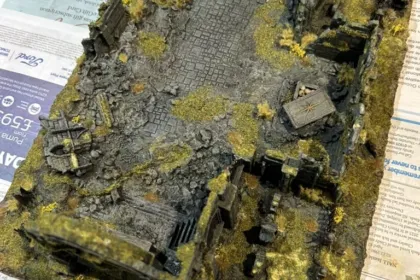
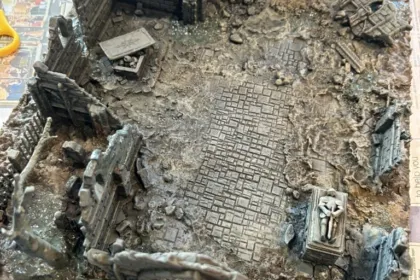
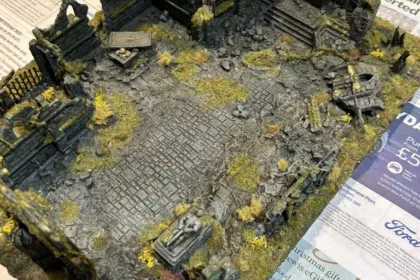
The assembly was where 3D printing truly shined. Throughout the process of testing layouts, I quickly identified gaps in the structure and was able to print additional walls, objects, and trees as needed. This flexibility made the process much smoother, ensuring the diorama looked cohesive and filled with life (or in this case, unlife!).
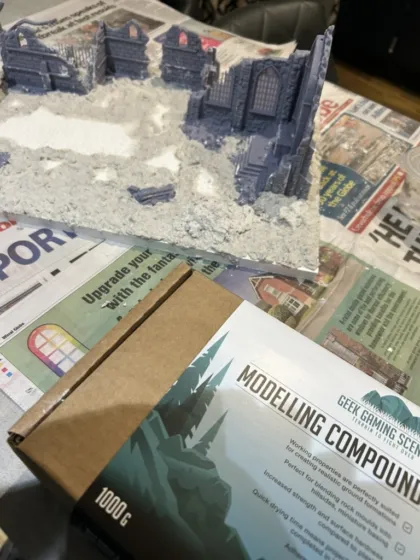
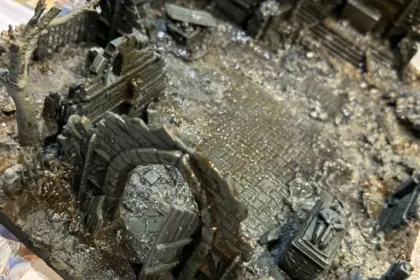
With the structural elements in place, I added air-dry clay and Geek Gaming Scenics modeling compound to blend everything together seamlessly. The foundations were set. I used a combination of paint and Mod Podge to seal the models, and soon, the entire scene was base-coated, dry-brushed, and textured. Flocking was added for vines, and a touch of snow created that perfect chilling atmosphere.
The Final Touches: Learning from Experience
With the Terrorgheist and Brydget Axwold positioned in their final stances, the diorama was complete—a stunning, largely 3D-printed scene! But here’s where I realized something important: this was a painting competition, not a diorama competition.
I had invested so much time into constructing the scene that I didn’t focus enough on painting the individual models. While they were perfectly fine, they didn’t stand out as much as I’d hoped. So, while the diorama might have been a showstopper in a different contest, it didn’t perform as well in a painting-focused competition.
Lesson learned: always align your work to the competition’s focus!
Why 3D Printing is a Game-Changer for Custom Dioramas
Despite the outcome, this project reinforced the value of custom miniature 3D printing. Being able to print exactly what I needed when I needed it—whether it was an additional wall, tree, or ruined structure—enabled me to build a truly unique piece. If you’re looking to bring your creative visions to life, whether for a competition or just your personal collection, Re-Foundry is here to help with all your custom printing needs.
